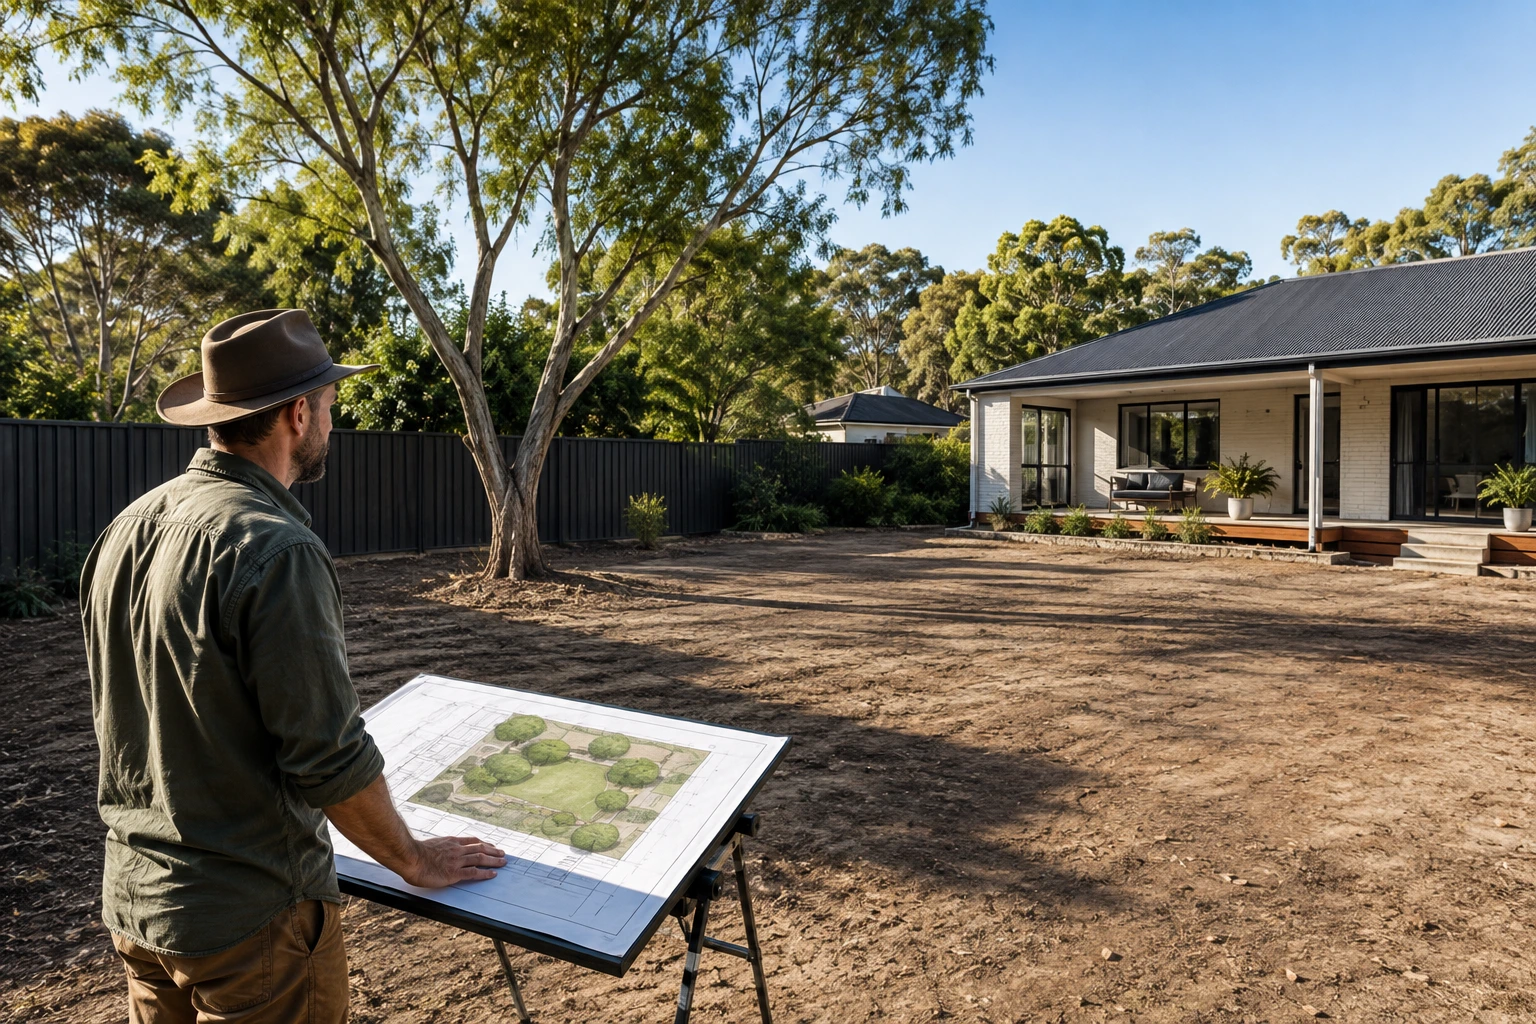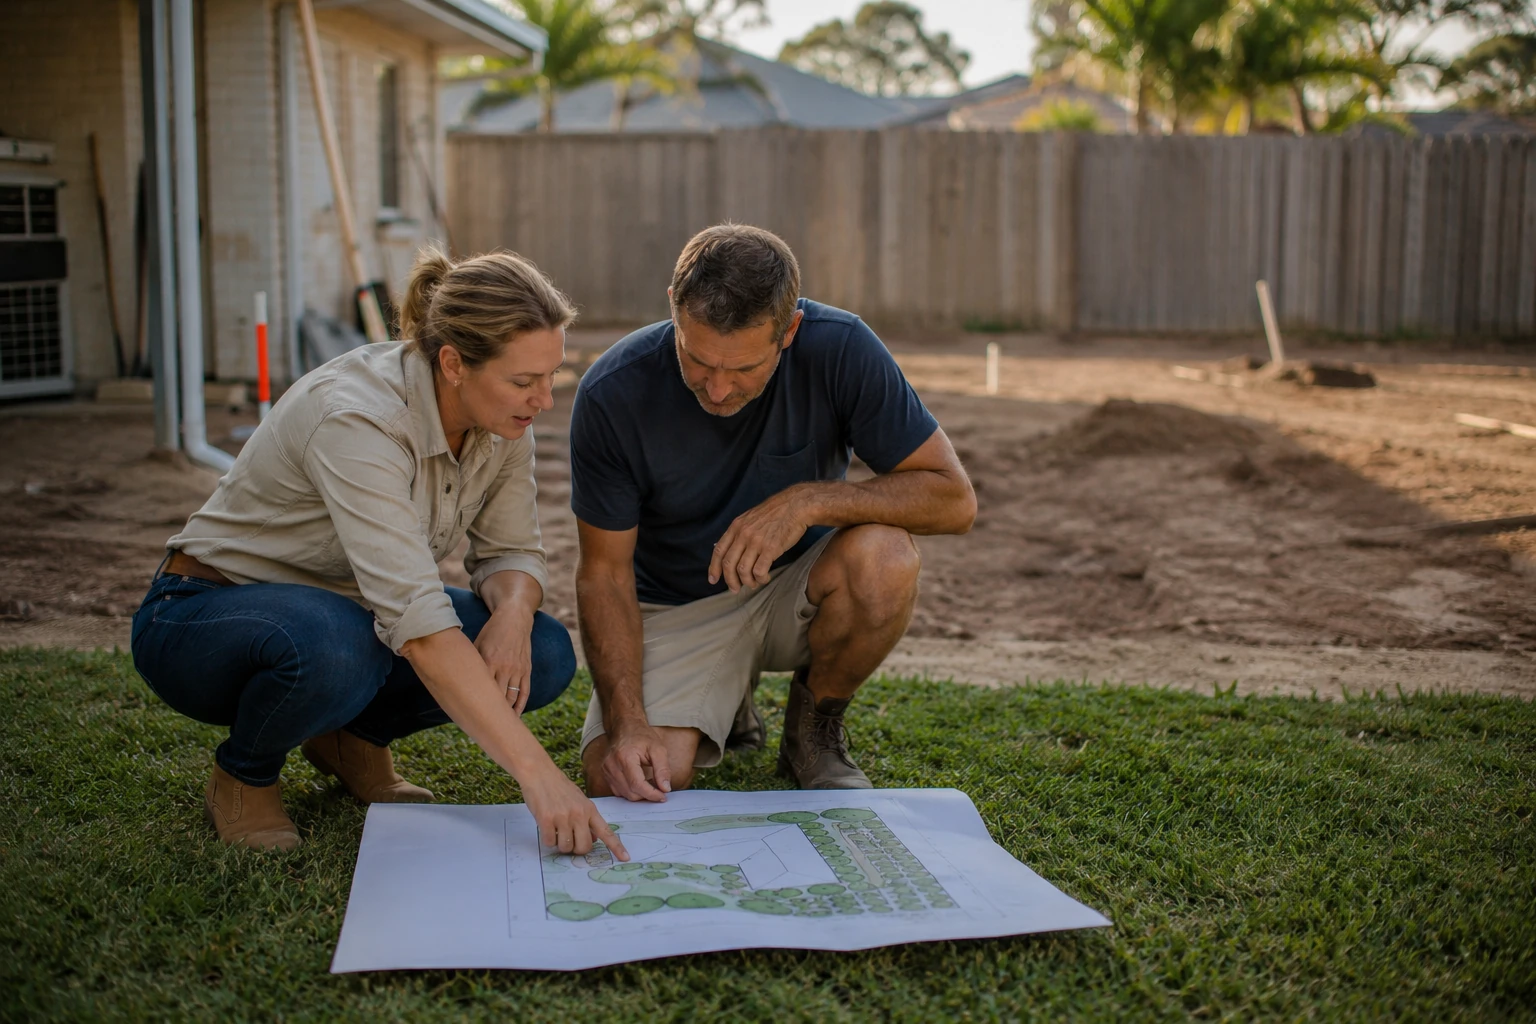
Yes, a well-placed and correctly sized rain garden can manage much of your backyard’s stormwater naturally, with no pipes or pumps. Within that design, the planting carries half the load, because your chosen species must survive a soaking one week and a dry spell the next.
That approach isn’t new: councils have built rain gardens along city streets for years. Homeowners are now bringing the same stormwater landscaping home. Also, at Design Martus, we see why in backyards that turn boggy after every summer storm.
This guide explains how a rain garden handles runoff, how to site, size and shape one, and which Australian natives suit each planting zone. It also covers the sites where rain garden design can’t fix drainage alone, so read on before you dig.
How Does a Rain Garden Manage Stormwater in Your Backyard?
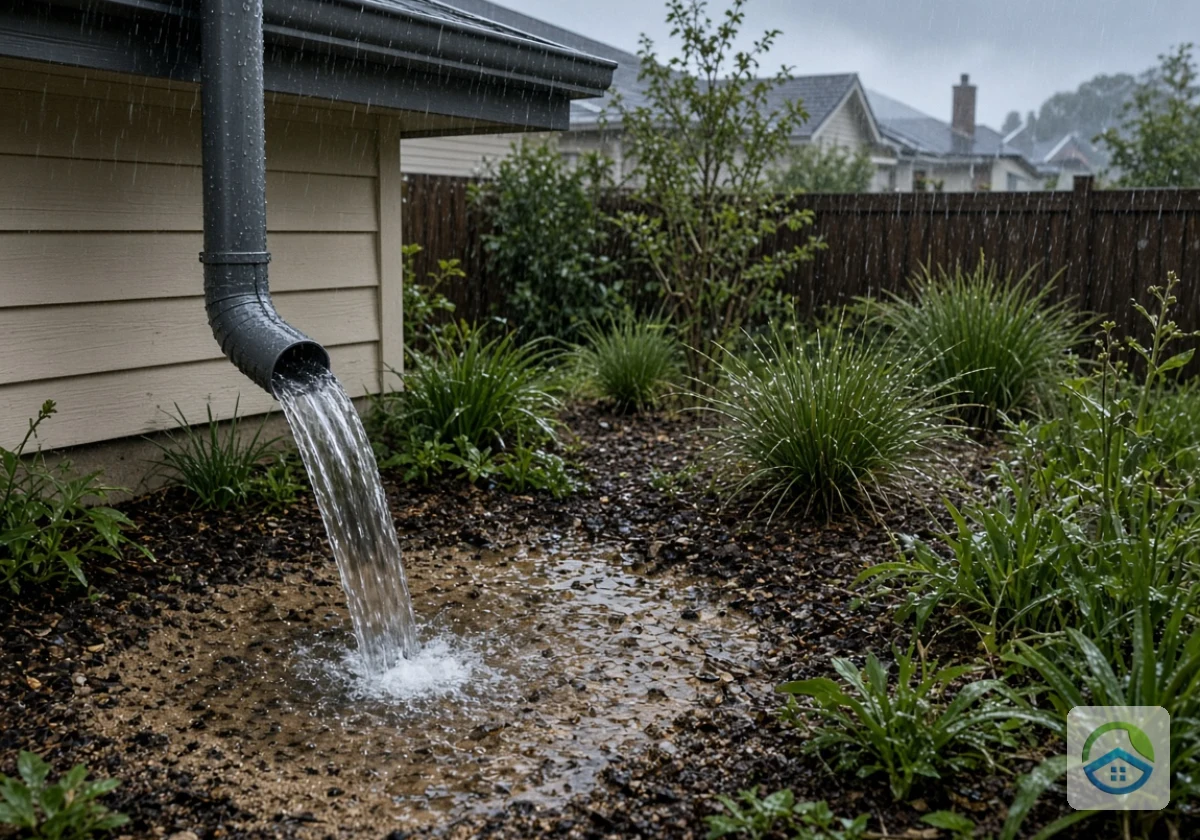
A rain garden manages stormwater by catching runoff in a shallow planted basin and letting it soak into the soil. Inner West Council’s water sensitive design guidance describes it as a specially designed garden that filters stormwater runoff from surrounding areas. That filtering step separates a rain garden from a hole that simply fills with water.
In practice, water from your downpipes or paving flows into the basin and spreads across its flat base. From there, it sinks through mulch and a loose soil mix, while plant roots open channels that carry it deeper. The roots and soil also trap sediment, fertiliser and oil before any of it reaches the street drain.
If you’ve watched a downpipe gush during a Brisbane storm, you’ve seen how fast that water arrives. A rain garden slows the surge by holding it in the basin and letting the ground absorb it gradually. That slower release eases the load on council drains and keeps water away from your house footings (frogs often move in once the basin settles down).
Rain Garden Design Basics: Siting, Sizing and Soil
Many rain gardens that fail were dug in the wrong spot rather than planted with the wrong things. After all, a basin too close to the house, too small for the roof, or on slow clay causes problems no plant list can solve. So before you plant anything, work through the four decisions below in order.
1. Where to Put It: Well Clear of the House
Place the basin well away from your house, never right beside a wall. At a good distance, water soaking into the ground stays clear of your footings and slab.
On top of that, pick a low spot, front yard or back, where runoff already heads after rain. Water then reaches the basin on its own, so you won’t need to regrade the yard.
Before you dig, check for tree roots and buried services. Thick roots stop you from digging the basin to full depth, and gas, water and power lines often run just below the surface. In case you skip or forget this check, one spade strike could cut your power, rupture a gas line or damage a tree you want to keep.
2. How Big to Make It: Sizing the Basin to Your Roof and Paving
Wingecarribee Shire Council’s rain garden sizing advice ties basin size to the upstream impervious catchment area, so you measure that area first. “Impervious” means hard surfaces, like roofs and paving, that shed water instead of absorbing it.
For example, a 150 m² roof plus 50 m² of paving gives 200 m² of catchment. That works out to a basin of about 4 m². To keep that figure accurate, measure only the surfaces that drain toward the basin and leave out roof sections whose downpipes run elsewhere.
3. Does Your Soil Drain Fast Enough?
You’ll only know after a simple percolation test, which shows how quickly water sinks into your soil. Dig a hole one spade deep, fill it with water, let it empty, then fill it again.
If that second fill is still sitting there the next morning, your soil drains too slowly for a basin. We run this test on almost every backyard we plan, because clay pockets often hide under good topsoil.
In that case, mix coarse sand and compost into the basin, or move it to a freer-draining spot. Either fix stops water pooling long enough to drown roots.
4. How to Build the Inlet, the Overflow and the Mulch Layer
Line the inlet with rocks so water from the downpipe doesn’t scour a channel through the soil. That rock apron also spreads the flow across the basin.
Next, set the overflow at the lowest point of the rim and line it with river stones. A big storm then spills toward the lawn or a drain instead of the house.
Finally, spread a coarse mulch such as hardwood chips, because fine mulch floats off when the basin fills (pine bark is the usual culprit after heavy storms). Keep it back from the inlet rocks so they can still spread the flow.

Choosing Rain Garden Plants That Cope With Wet and Dry Spells
Pick plants by zone, and your rain garden will look good in a dry February and a wet June. Each part of the basin holds water for a different stretch, so one species rarely suits the whole garden.
The table below compares the three planting zones and what grows in each.
| Zone | How wet it gets | Australian natives that suit it |
|---|---|---|
| Base | Floods first and stays wet longest, then dries hard between storms | Tall sedge (Carex appressa), knobby club-rush (Ficinia nodosa), common rush (Juncus usitatus) |
| Slope | Gets wet during storms but drains quickly afterwards | Mat rush (Lomandra longifolia), flax lily (Dianella caerulea), tussock grass (Poa labillardierei) |
| Rim | Rarely sits in water, so it behaves like a normal garden bed | Coastal rosemary (Westringia fruticosa), dwarf bottlebrush (Callistemon ‘Little John’) |
The base zone decides whether the garden survives its first year, so plant it densely with strappy native plants whose roots keep the soil open. Along the rim, you can mix in drought-tolerant plants suited to Brisbane to soften the edge and add colour (bottlebrush flowers bring honeyeaters and lorikeets into the yard).
Rain Gardens Aren’t a Fix for Every Backyard Drainage Problem
Even the best-zoned planting can’t save a basin sitting on the wrong ground. Every basin needs soil that drains and enough room to empty before the next storm arrives.
When either condition fails, the basin becomes a stagnant puddle that breeds mosquitoes and rots plant roots. If your lawn squelches for days after rain, you probably already suspect which side of that line you’re on.
That’s why, in the backyards we plan, we often pair a rain garden with ag drains or a dry creek bed instead of relying on it alone. The extra drainage carries water the basin can’t absorb, while the garden still filters what it can.
Sites like these need other backyard drainage solutions before a basin goes in:
- Heavy Clay: Soil stays waterlogged for days after rain. In that case, ag drains need to go in first, and a second percolation test will show whether the ground now drains.
- High Water Table: The spot already ponds, so a basin there would never fully empty. You’re better off moving it to a higher part of the yard.
- Steep Slopes: Water runs straight past the basin before it can soak in. Terracing the slope or adding a dry creek bed slows that flow enough for the garden to catch it.
- Oversized Catchment: A very large roof or driveway sends more water than one basin can hold. Here, splitting the flow between two basins or a tank keeps each one within its limit.
- Septic or Foundation Nearby: Water soaking into the ground could weaken the foundation or affect your septic system. For that reason, keep the basin well away from both to avoid these problems.
Hopefully, it’s clear now that fixing the underlying drainage first means your basin adds a filter to the yard rather than another wet patch.

Start Small and Let Your Garden Do the Drainage Work
A rain garden can handle much of your backyard’s stormwater without pipes or pumps, although only when you get the basics right. First, place it well away from the house and size it to your hard surfaces. Then plant it for both soaking and drought. Once the basin sits in the right place, the soil and plants do the work.
So start with the percolation test and a quick measure of your roof this weekend. Those two numbers tell you whether this DIY project suits your yard.
Ready to plan a rain garden that suits your block? Get in touch with Design Martus for practical design advice on drainage, planting and placement.